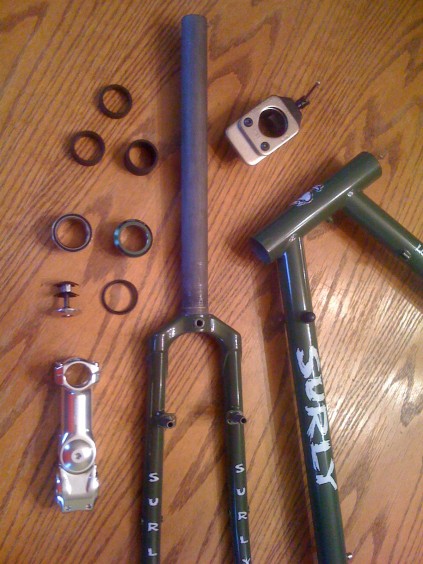
Last night I successfully pressed my first headset. I’ve been in the “process” of building up a Surly Long Haul Trucker for the past three or four months — and by “process” I mean, I’ve been too broke to buy anything but the frame, until now. The plan is to build it up as touring bike so that, once Laura also has a touring bike, we can start some long bike touring camping trips around the Pacific Northwest. My personal goal is to at some point bike from Portland to San Francisco. I’d also like to do the STP (Seattle to Portland) ride, but San Fran is the big one in my mind. Another goal I have is to be able to build this bike entirely myself, aside from fabrication of parts. I want to be the one to piece each part together including wheels and of course the headset. For those who are less familiar with bikes, the Headset of a bike is basically the set of components that connect the fork to the frame of a bike and allow you to turn your front wheel. There are two types of headsets for two types of forks, threaded and threadless. In my case I’m using a threadless headset, which is standard for most modern bikes.
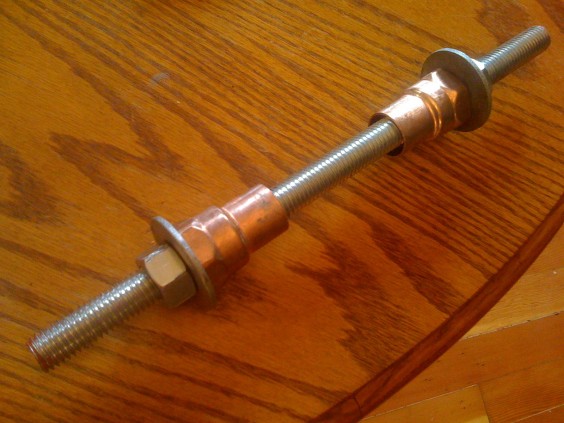
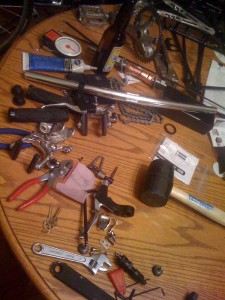
The first thing I needed to press my headset was the headset press. It’s possible to purchase these from companies such as Pardro’s and Park Tools, but they’ll run you between $100 – $150 or possibly more depending on the quality of the tool you purchase. In any case, for the frequency that I need a headset press (maybe once a year), it’s just not worth it. A cheap alternative is a big screw, some bolts, washers, and bushings. I used this post as a reference while making mine.
Although I couldn’t find any bronze bushings (as specified in the article), I found some copper pipe connectors that seemed to do the trick. The bushings or connectors have two purposes. The first is protecting your headset while pressing it into the frame. This is accomplished by simply using a weaker material than your headset (in my case stainless steel). The second purpose is to help hold the headset in place and steady as your pressing them.
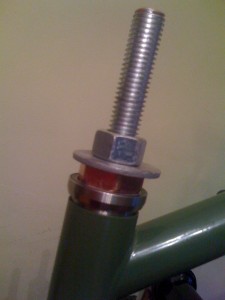
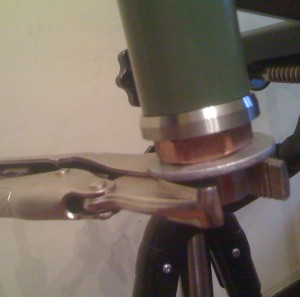
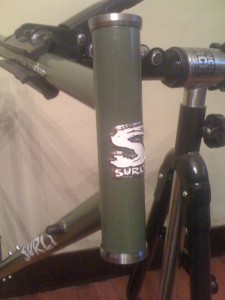
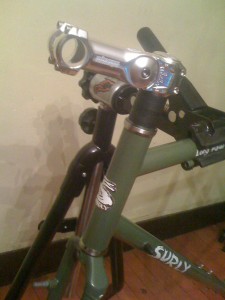
From the images I’m guessing most people can get the idea of what’s going on there. Basically, you’ve got a big screw with some bolts, your bearings in place on the frame with the washers and bushings in place to stabilize your bearings as their being pressed and start tightening the bolts until your bearings are pressed into the head tube of your frame. The trickiest (and probably most important) part of the pressing process is keeping the everything straight. If you press your bearings in crooked, you risk damaging the headset, it in the worst case scenario getting a damaged headset stuck in your fork, in which case you’re out both a headset and fork, both of which are not exactly low-cost items. This is what I had the most trouble with while installing my headset.
As I eluded earlier, the part I had hardest time with was pressing the bearing cups in straight. I think the main thing that would have helped more was finding a better buffer between the bearings and the bolts. In my case I used pipe connectors which fit the bearings almost perfectly. There was a nice tight fit between the two. However, there was a good difference of about a centimeter between the interior diameter of the connectors and my screw. This allowed for the entire system to shift around quite a bit. I resolved to get it as straight as I could. Tighten a bit. Check to see if everything was straight, taping with a rubber mallet when they weren’t. Also I ended up pressing each bearing in separately. Trying to get both bearings straight at once proved to be to difficult with the homemade press. As said and done though, it got the job done.
Next up on the todo list is cannibalizing my Bauer for some needed parts to get the Long Haul Trucker rolling. Still a little too broke to get everything I need to build up the bike on its own. And I’m starting to realize there’s more I need to get the Long Haul Trucker on the road even using parts from my Bauer. Regardless, it’s just nice not having the new frame sitting in a corner untouched… although it’s well on its way back to said corner. All in good time.
Hey! We are into touring too! I have a touring bike and I love it! The plan is to ride from Seattle to San Fran maybe next summer. Love that you are into biking so much too! Biking rules…
[…] or the like, I don’t need to depend on anyone but myself. And as I’ve mentioned in earlier posts, I’m building up my Long Haul Trucker with the goal of doing everything myself; and of […]